In my classroom, the buzz of curiosity is one of my favorite sounds. You know the one—when students are mid-discussion, bouncing ideas off each other, […]
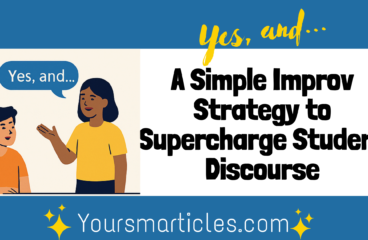
In my classroom, the buzz of curiosity is one of my favorite sounds. You know the one—when students are mid-discussion, bouncing ideas off each other, […]
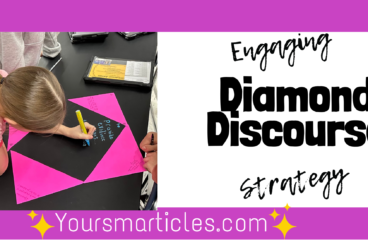
Diamond Discourse is more than a classroom strategy—it’s a conversation catalyst. Rooted in simplicity, this approach empowers students to think critically, articulate ideas, and co-construct meaning. Whether you’re tackling NGSS standards in Science or sparking debate in Social Studies, Diamond Discourse provides a visual, collaborative space where every voice matters. By transforming right triangles into a platform for dialogue and consensus, educators can elevate student agency and engagement—one diamond at a time.
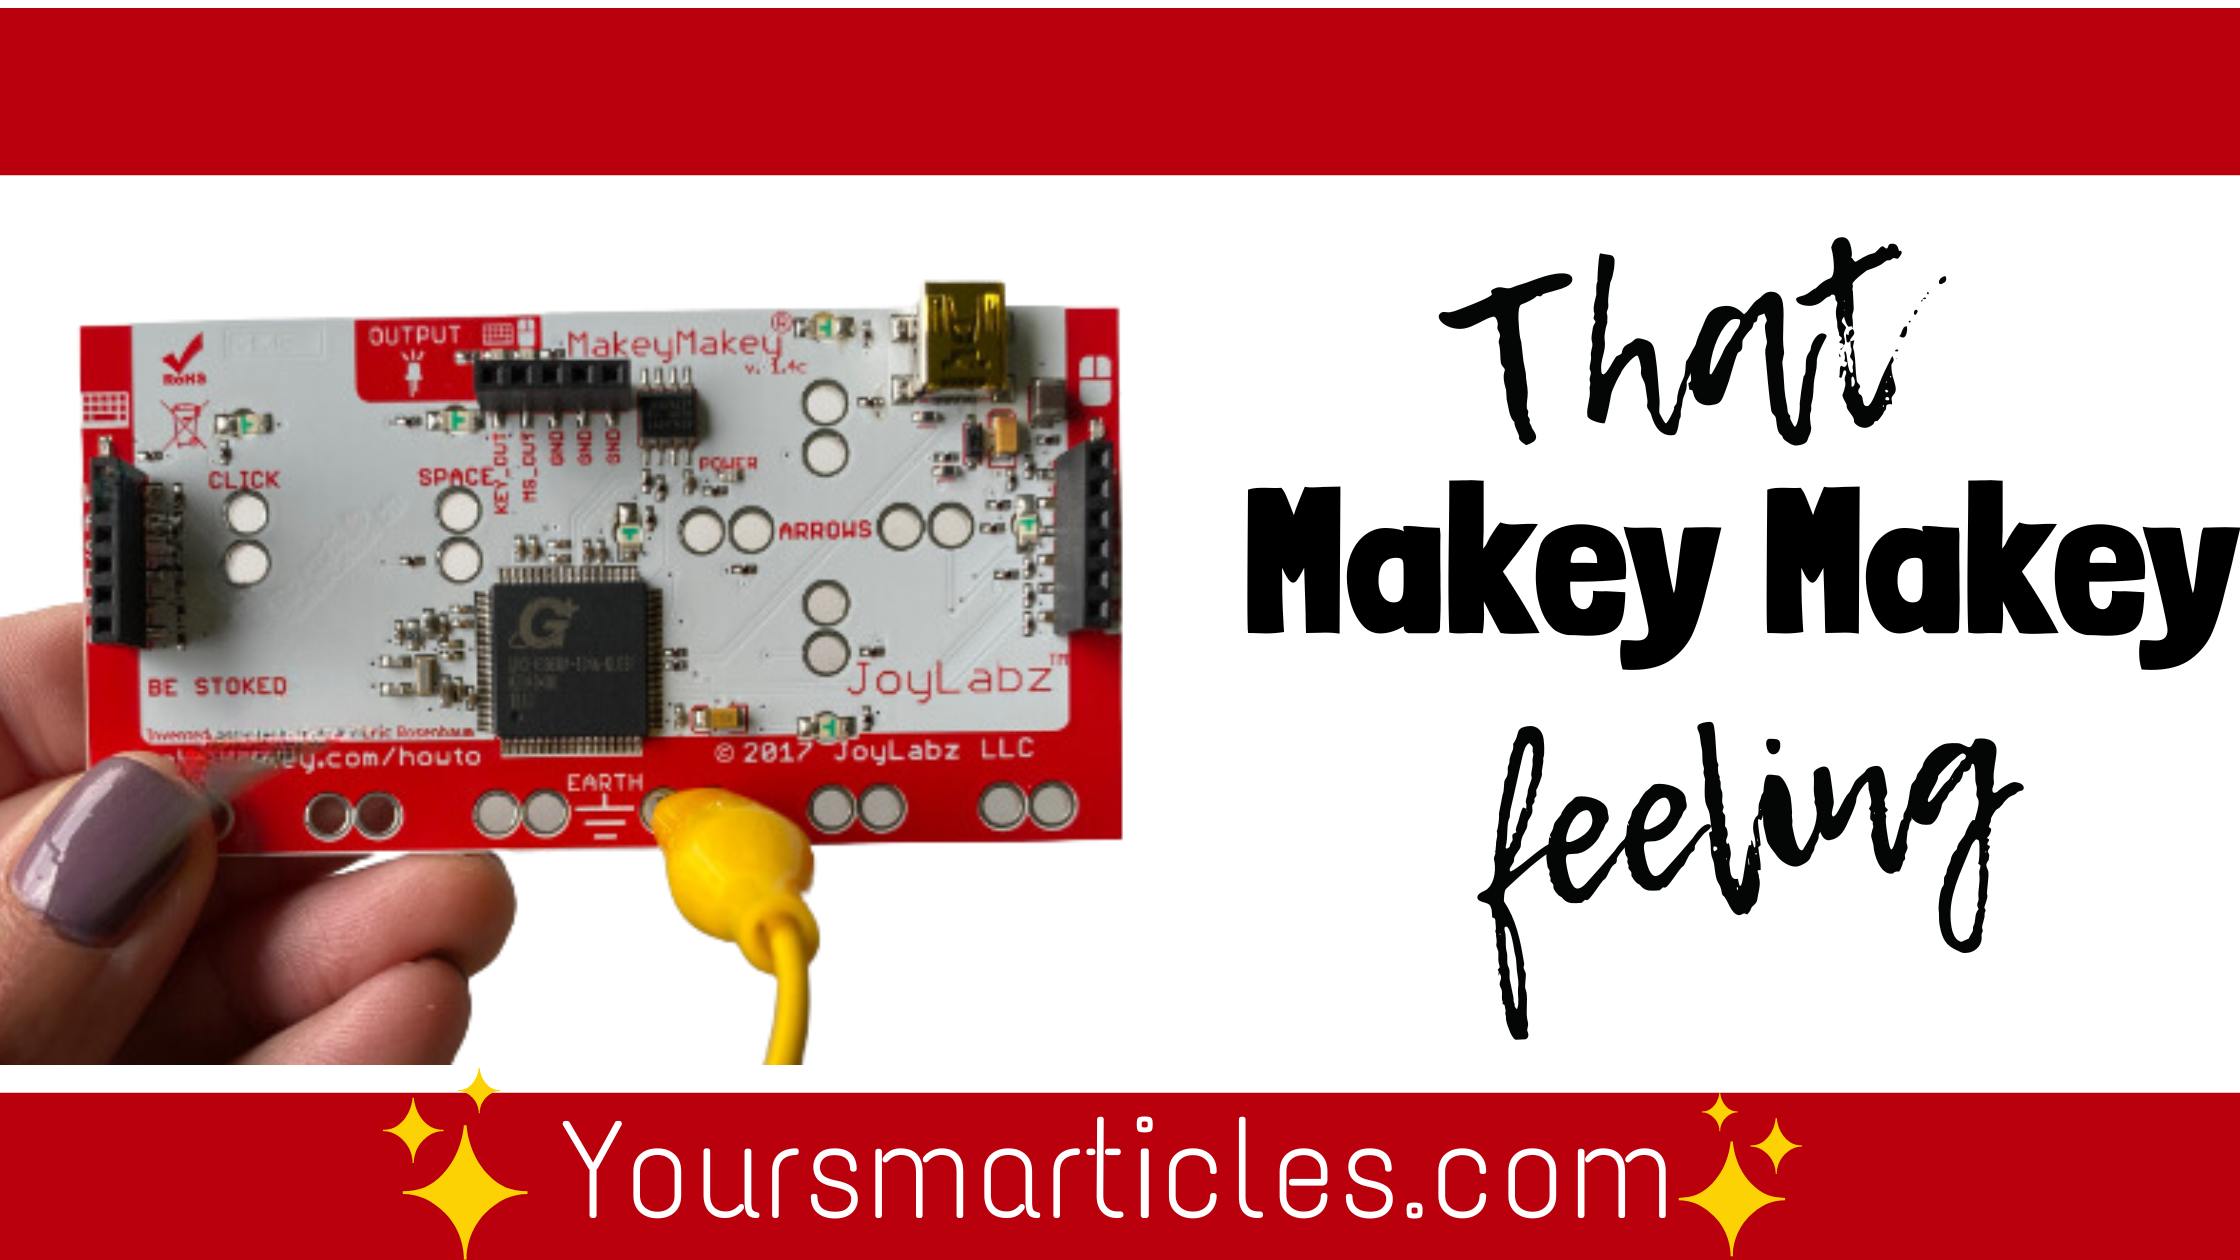
Discover how to integrate Makey Makey into classroom projects to make learning interactive and fun. Learn the details of a successful science project using this innovative tool.
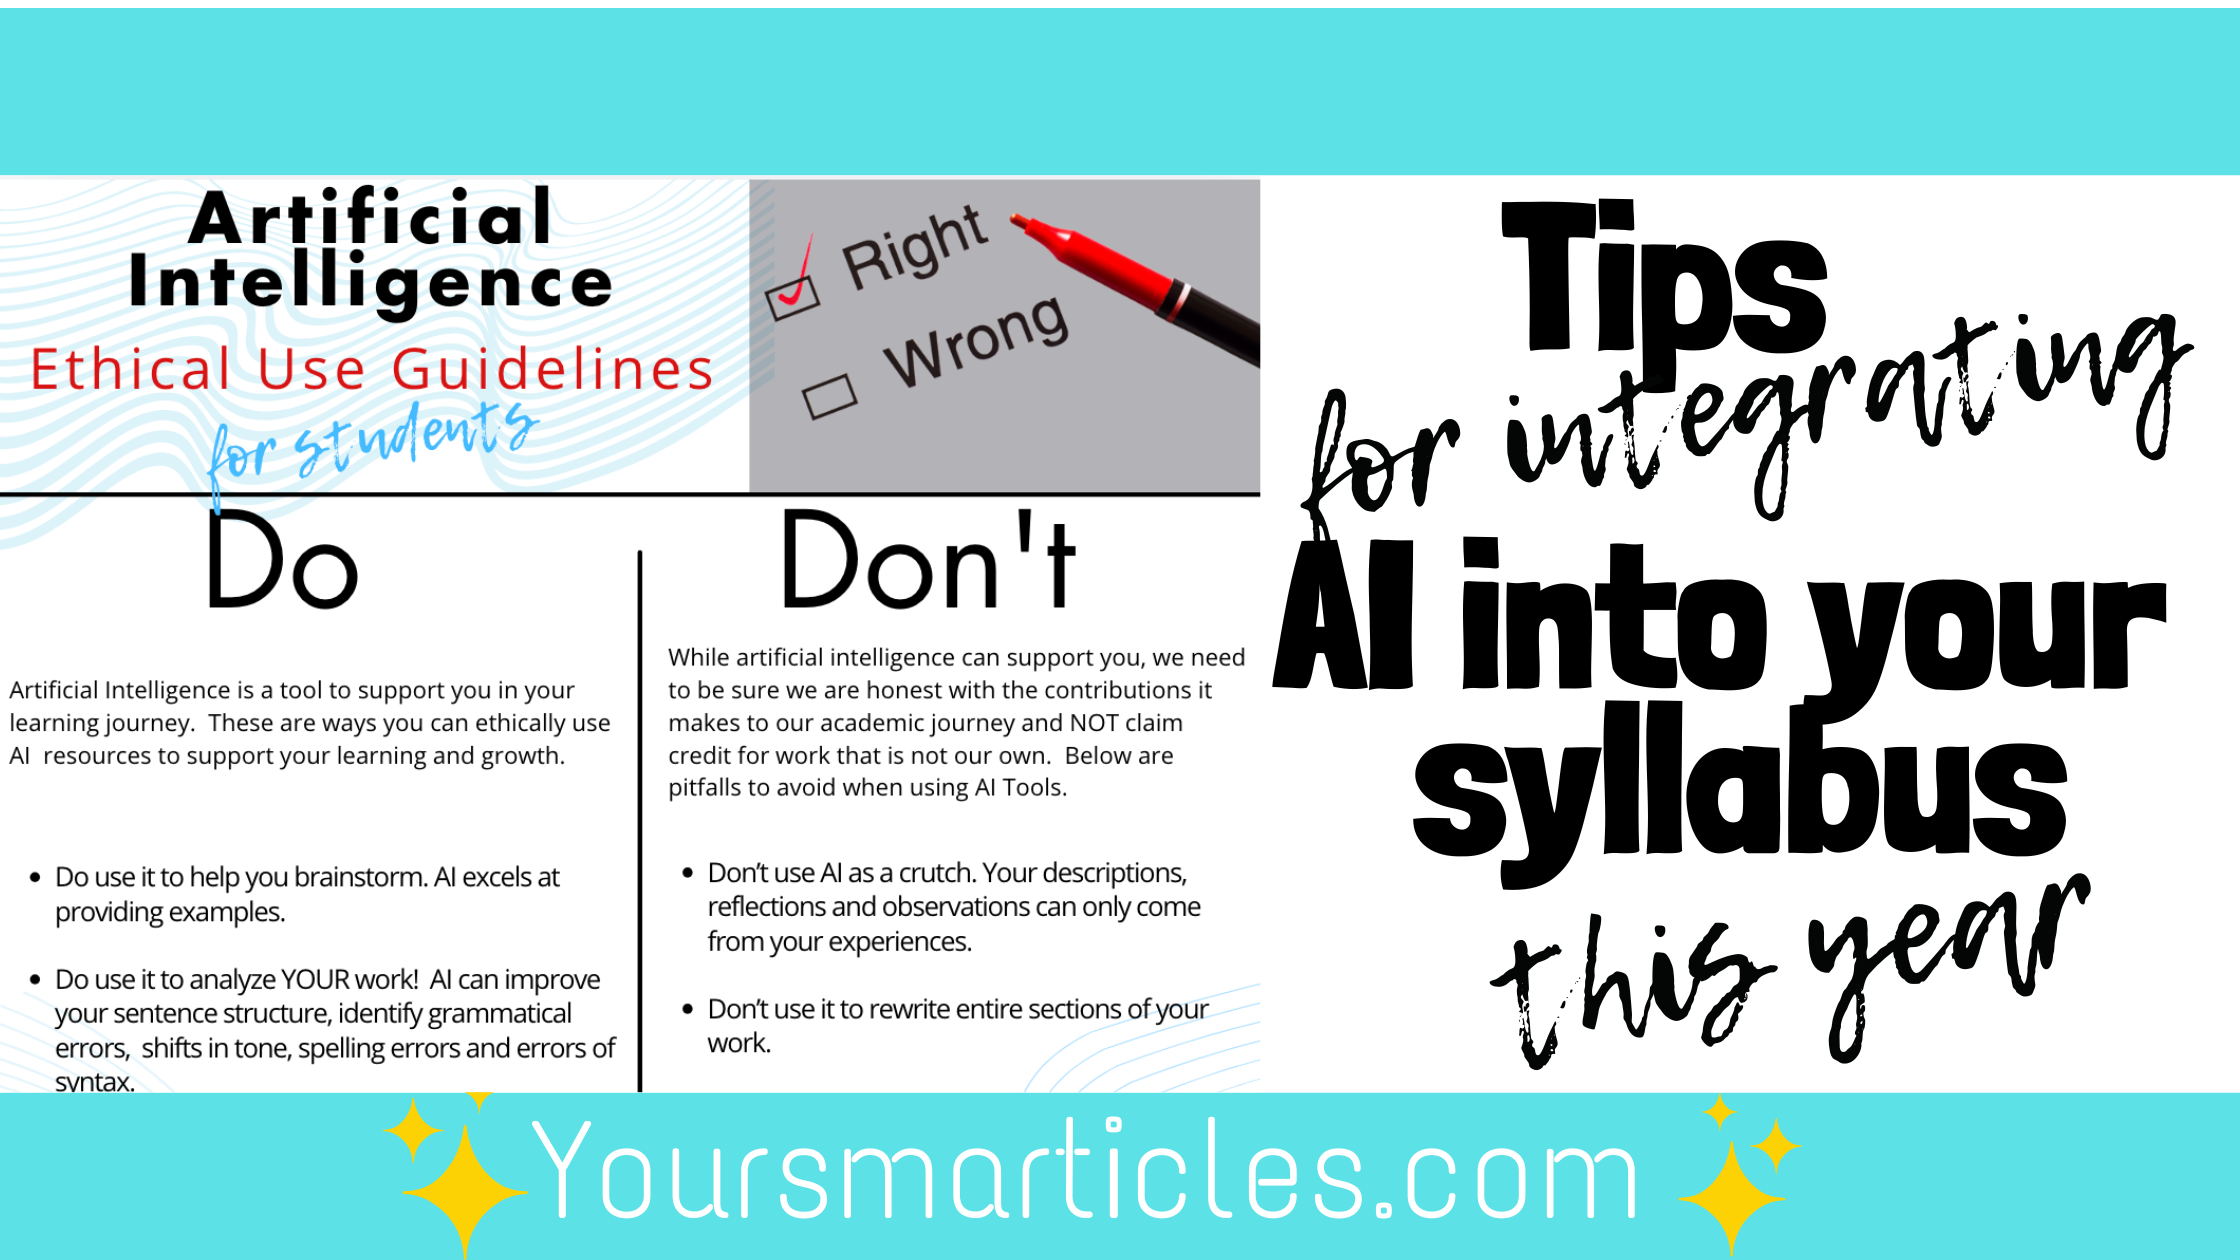
It’s quite possible that THIS upcoming school year IS the year we see the greatest use of AI in our classrooms. As such, finding a […]
If you’re a science teacher you know that there are simply some concepts that cannot be shared or visualized by students without the support of […]
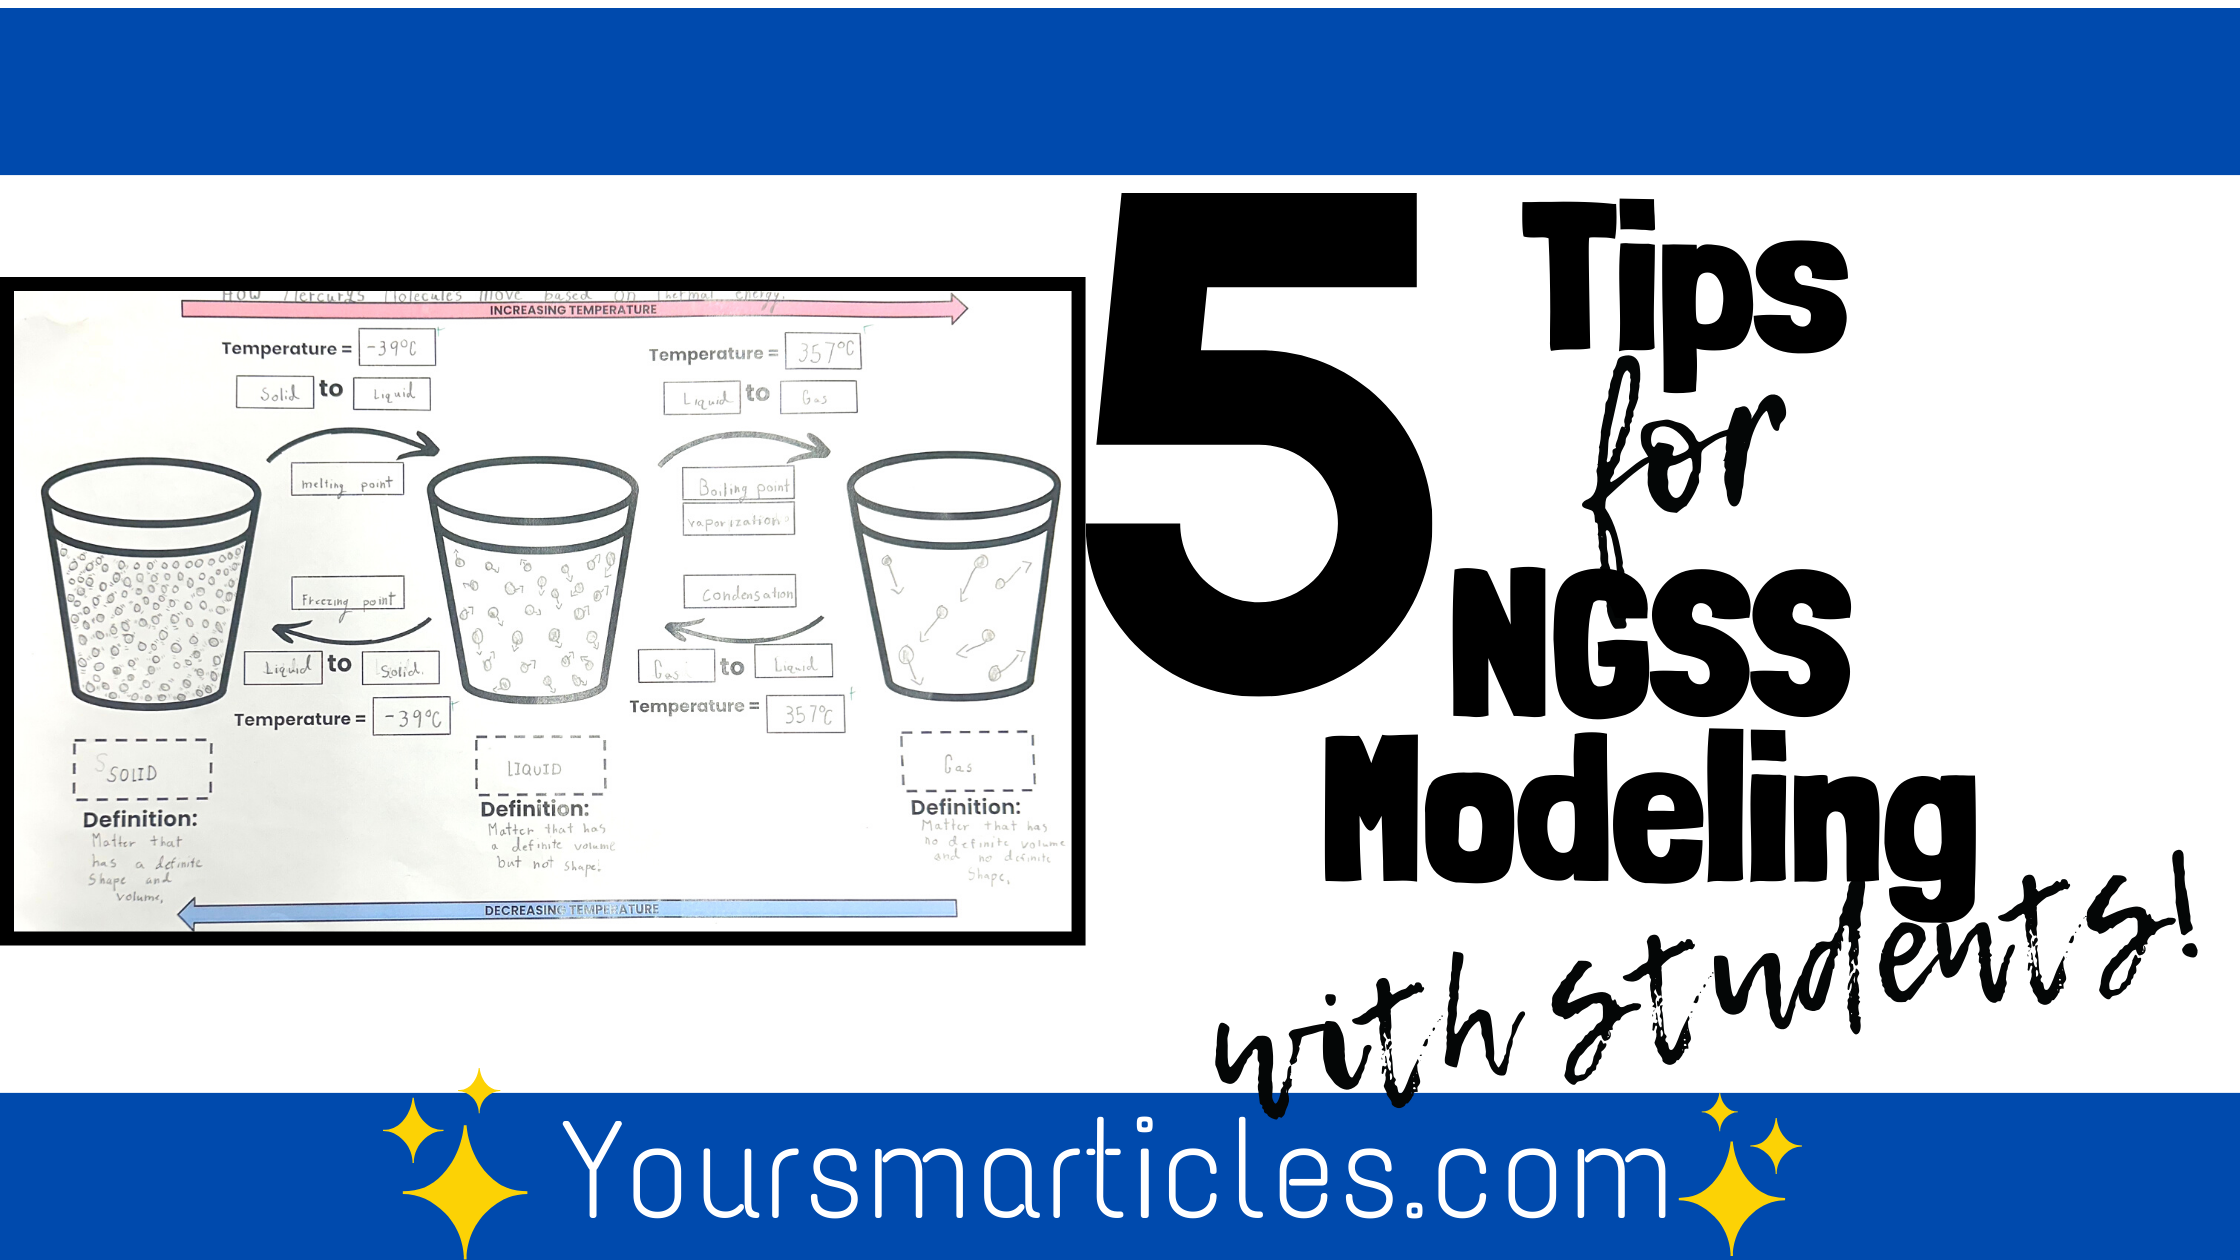
NGSS modeling can be tricky! If you are an educator that has adopted the Next Generation Science Standards, you have undoubtedly, along with way, encountered […]
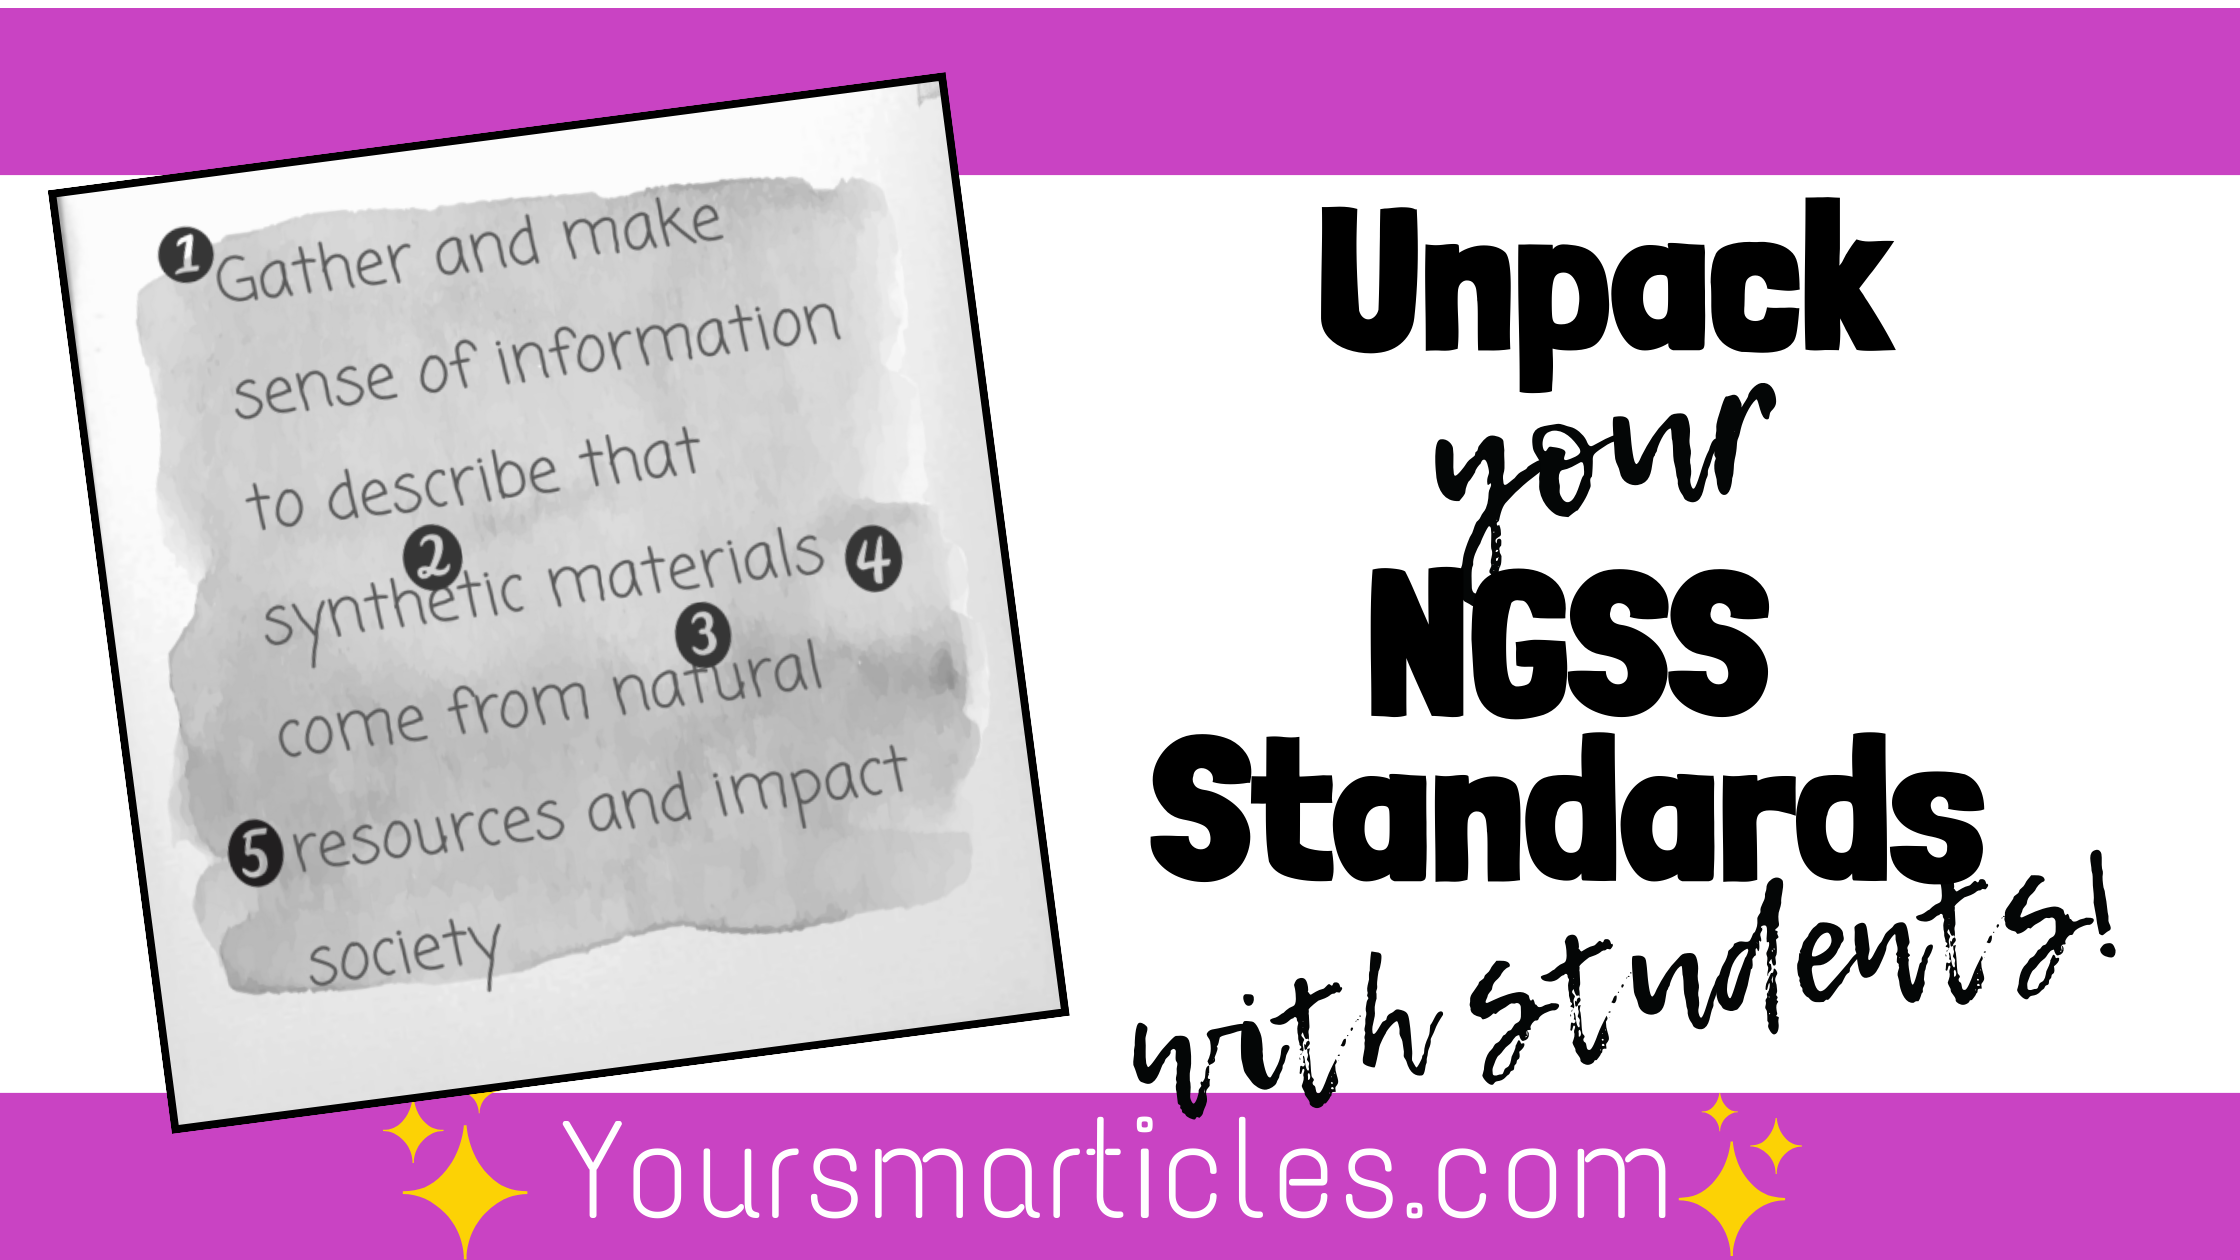
I’ve been teaching the Next Generation Science Standards to my sixth graders for 5 years now. Yes…through Covid and beyond. (that sounds a little like […]
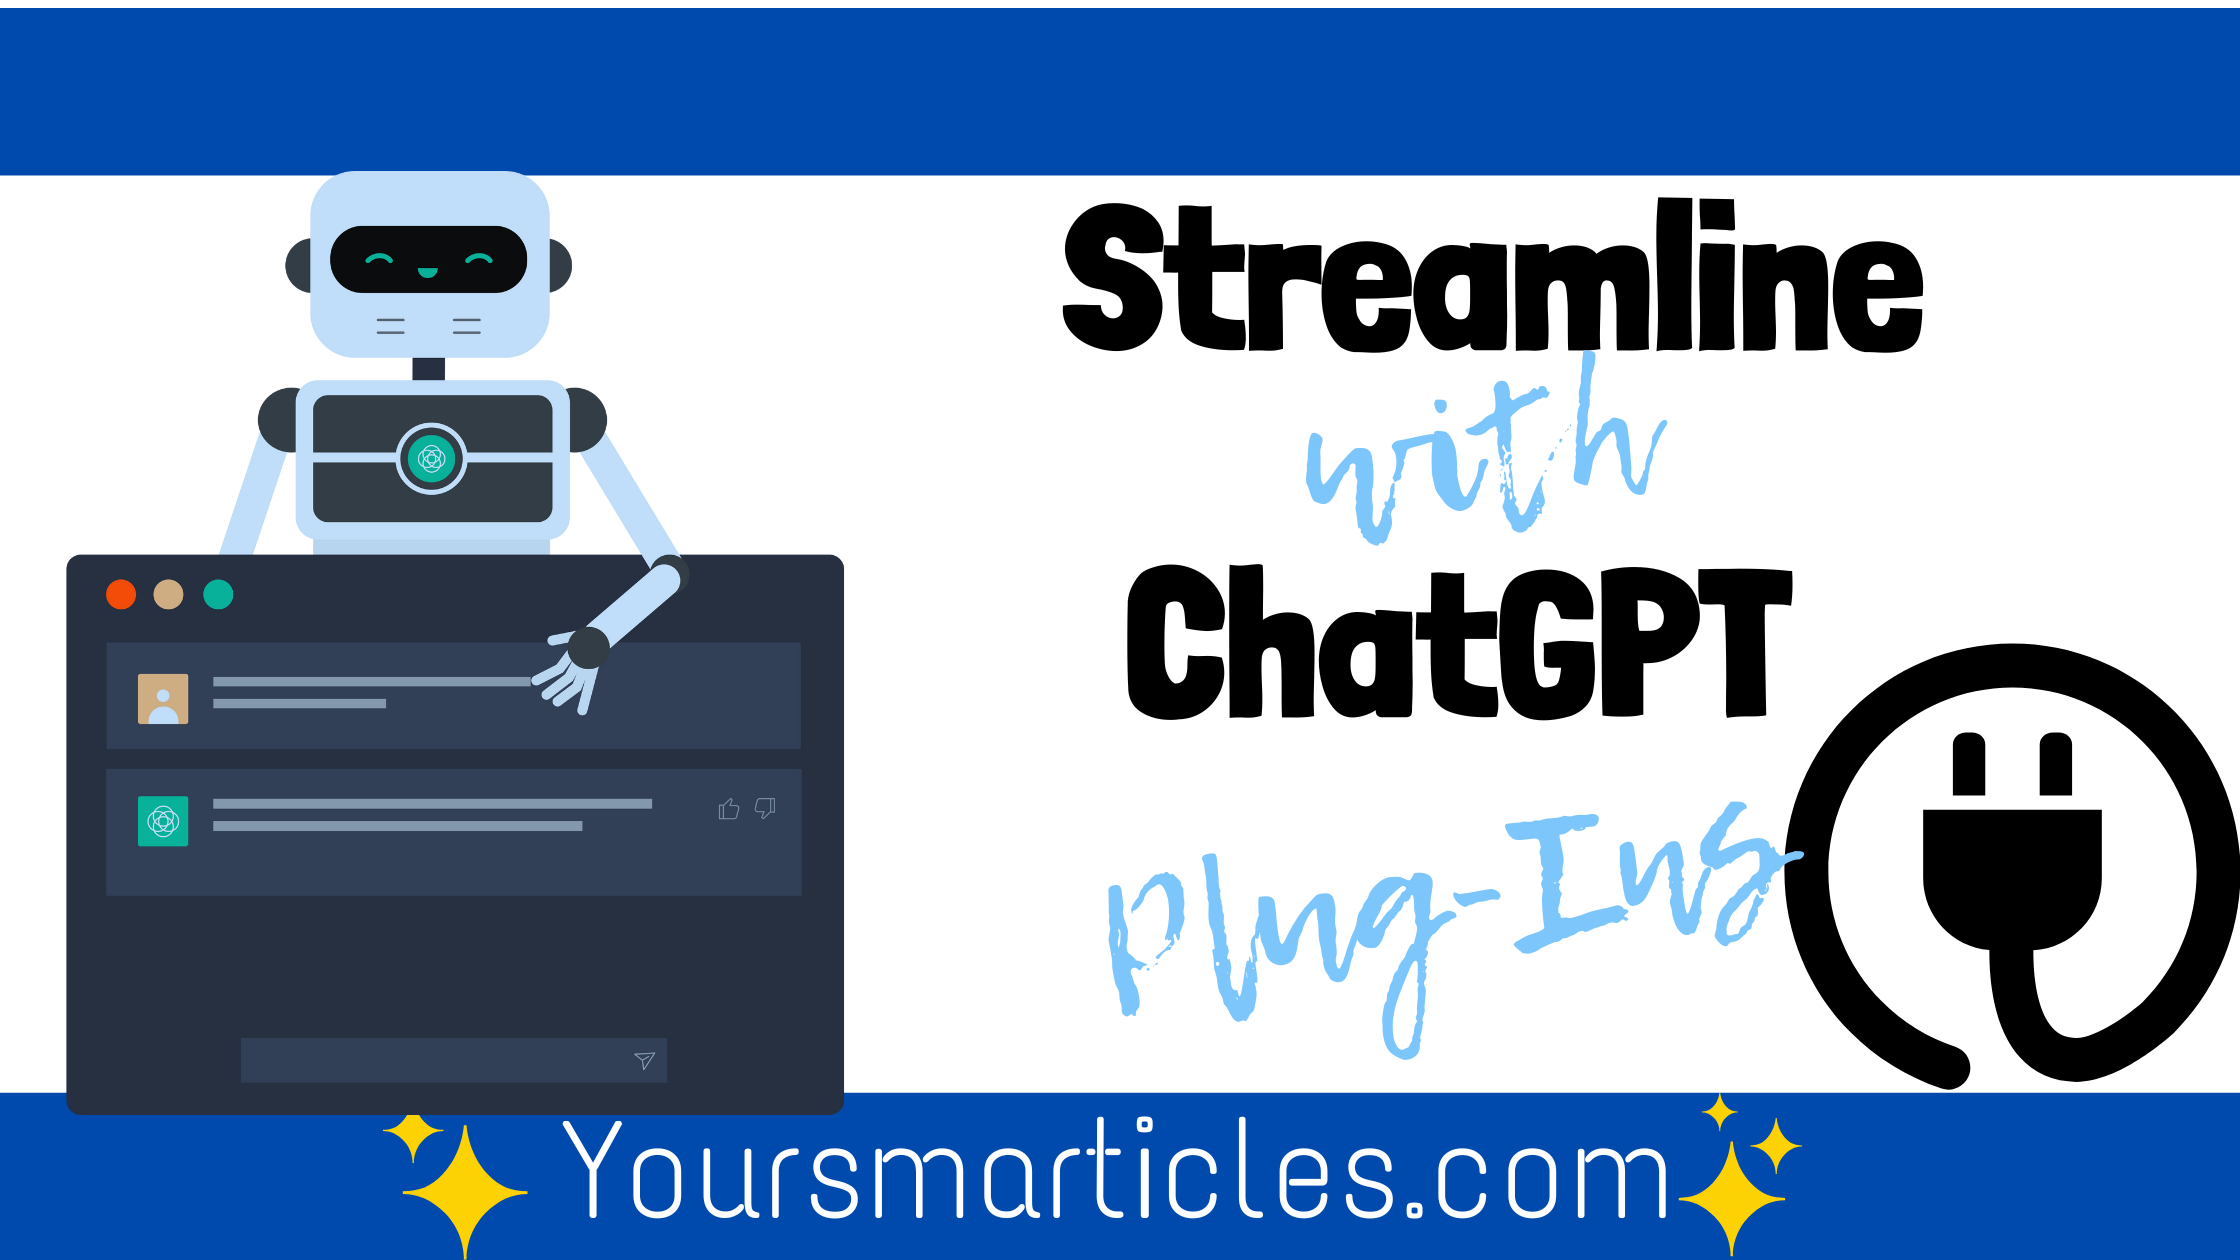
Learn how to use and access the new ChatGPT Plug-Ins available on ChatGPT 4.0. These plug-ins allow you to enhance the functionality of ChatGPT by accessing specific websites/databases live on the internet.
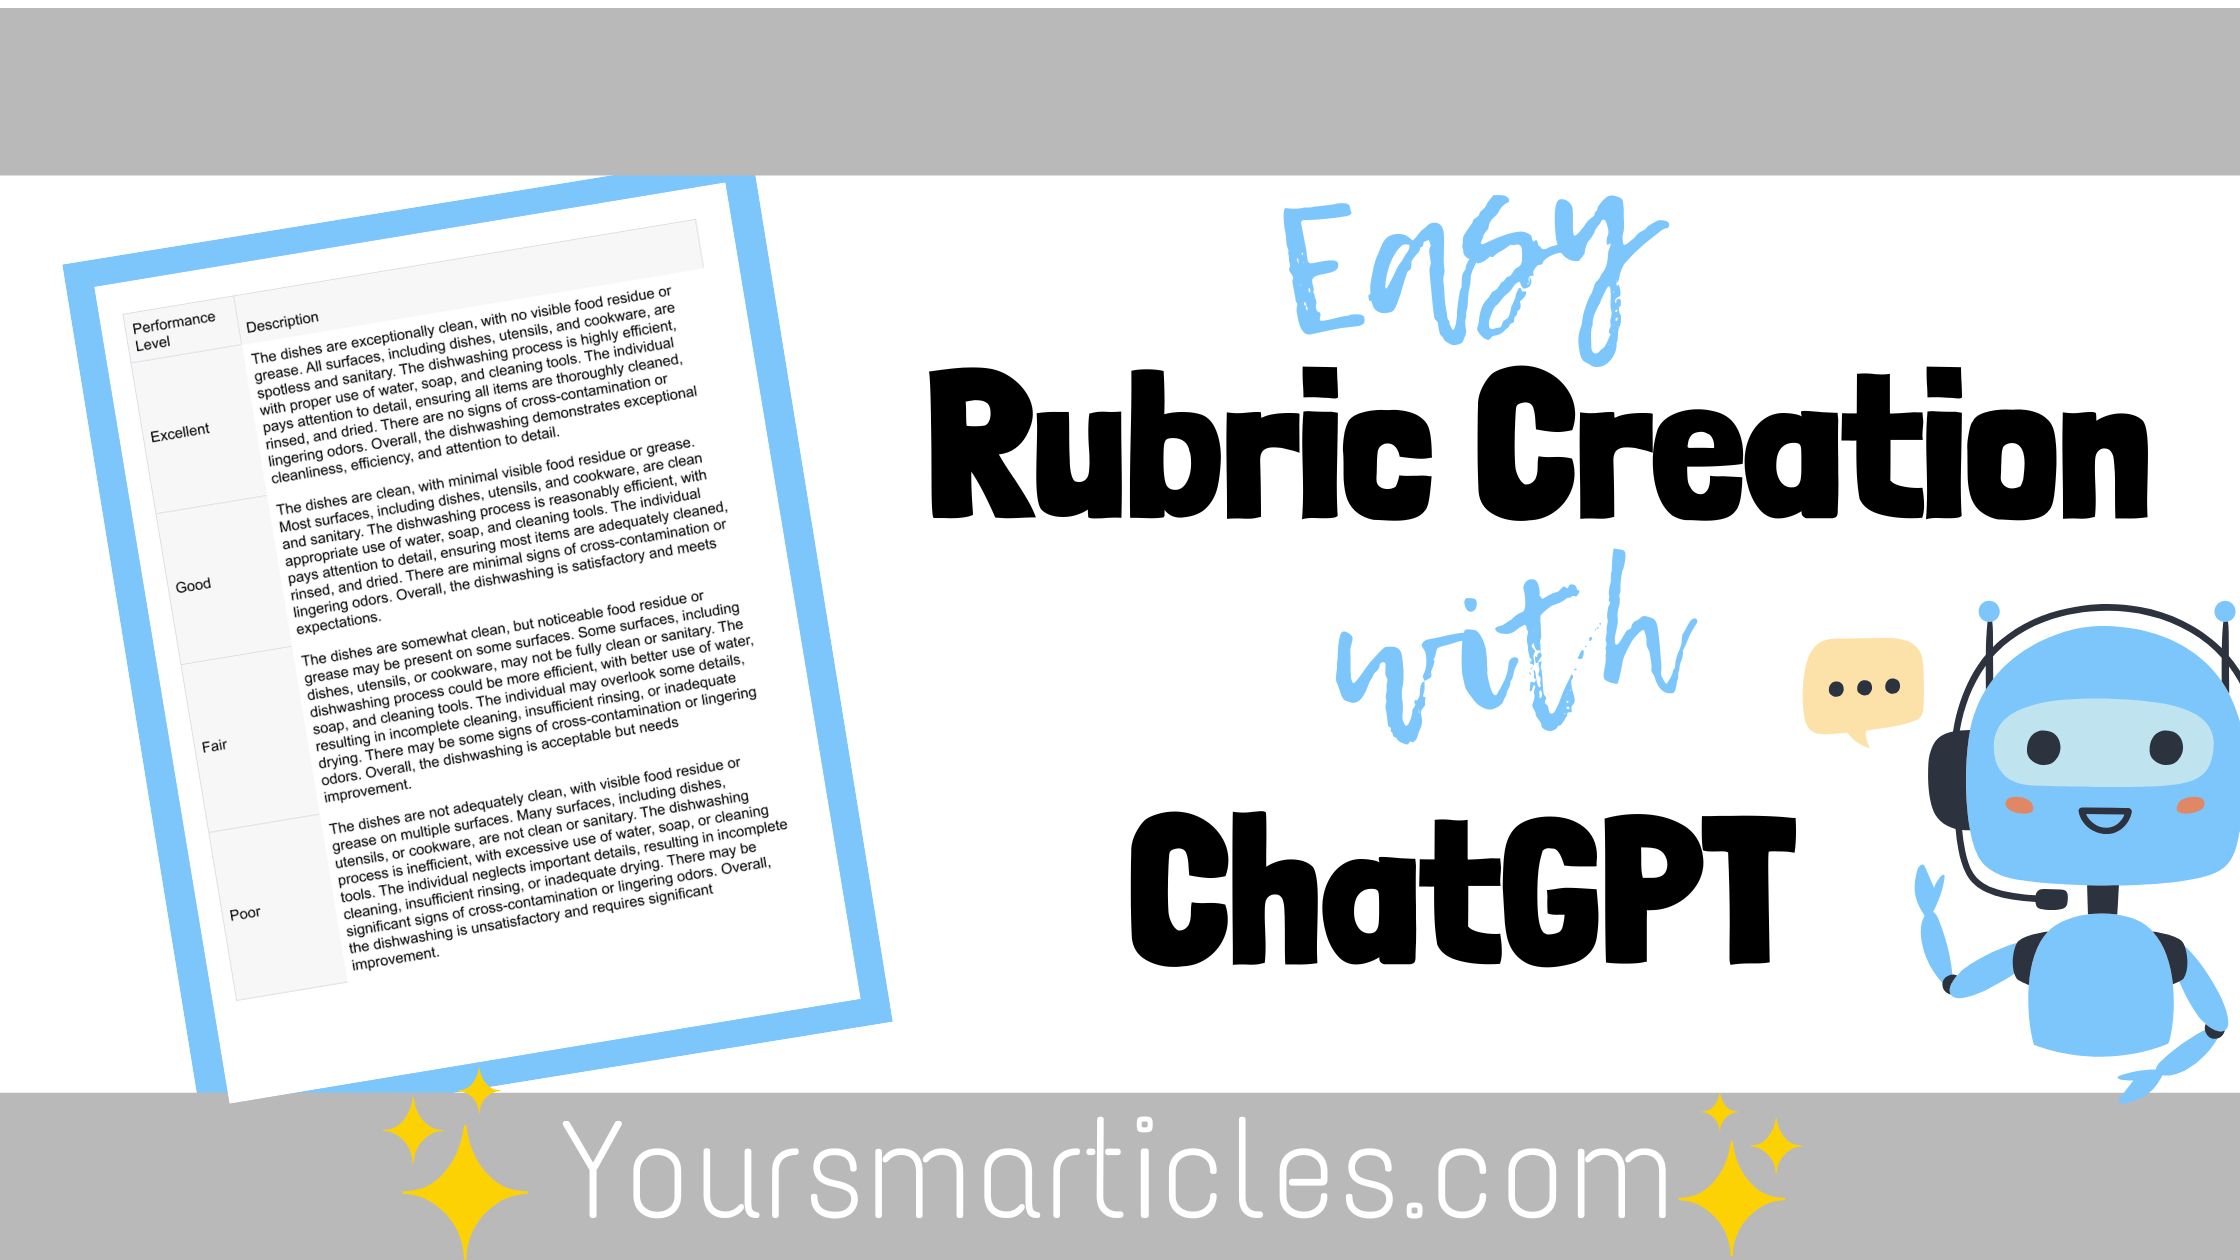
Learn how to leverage ChatGPT to make rubrics for your classroom.
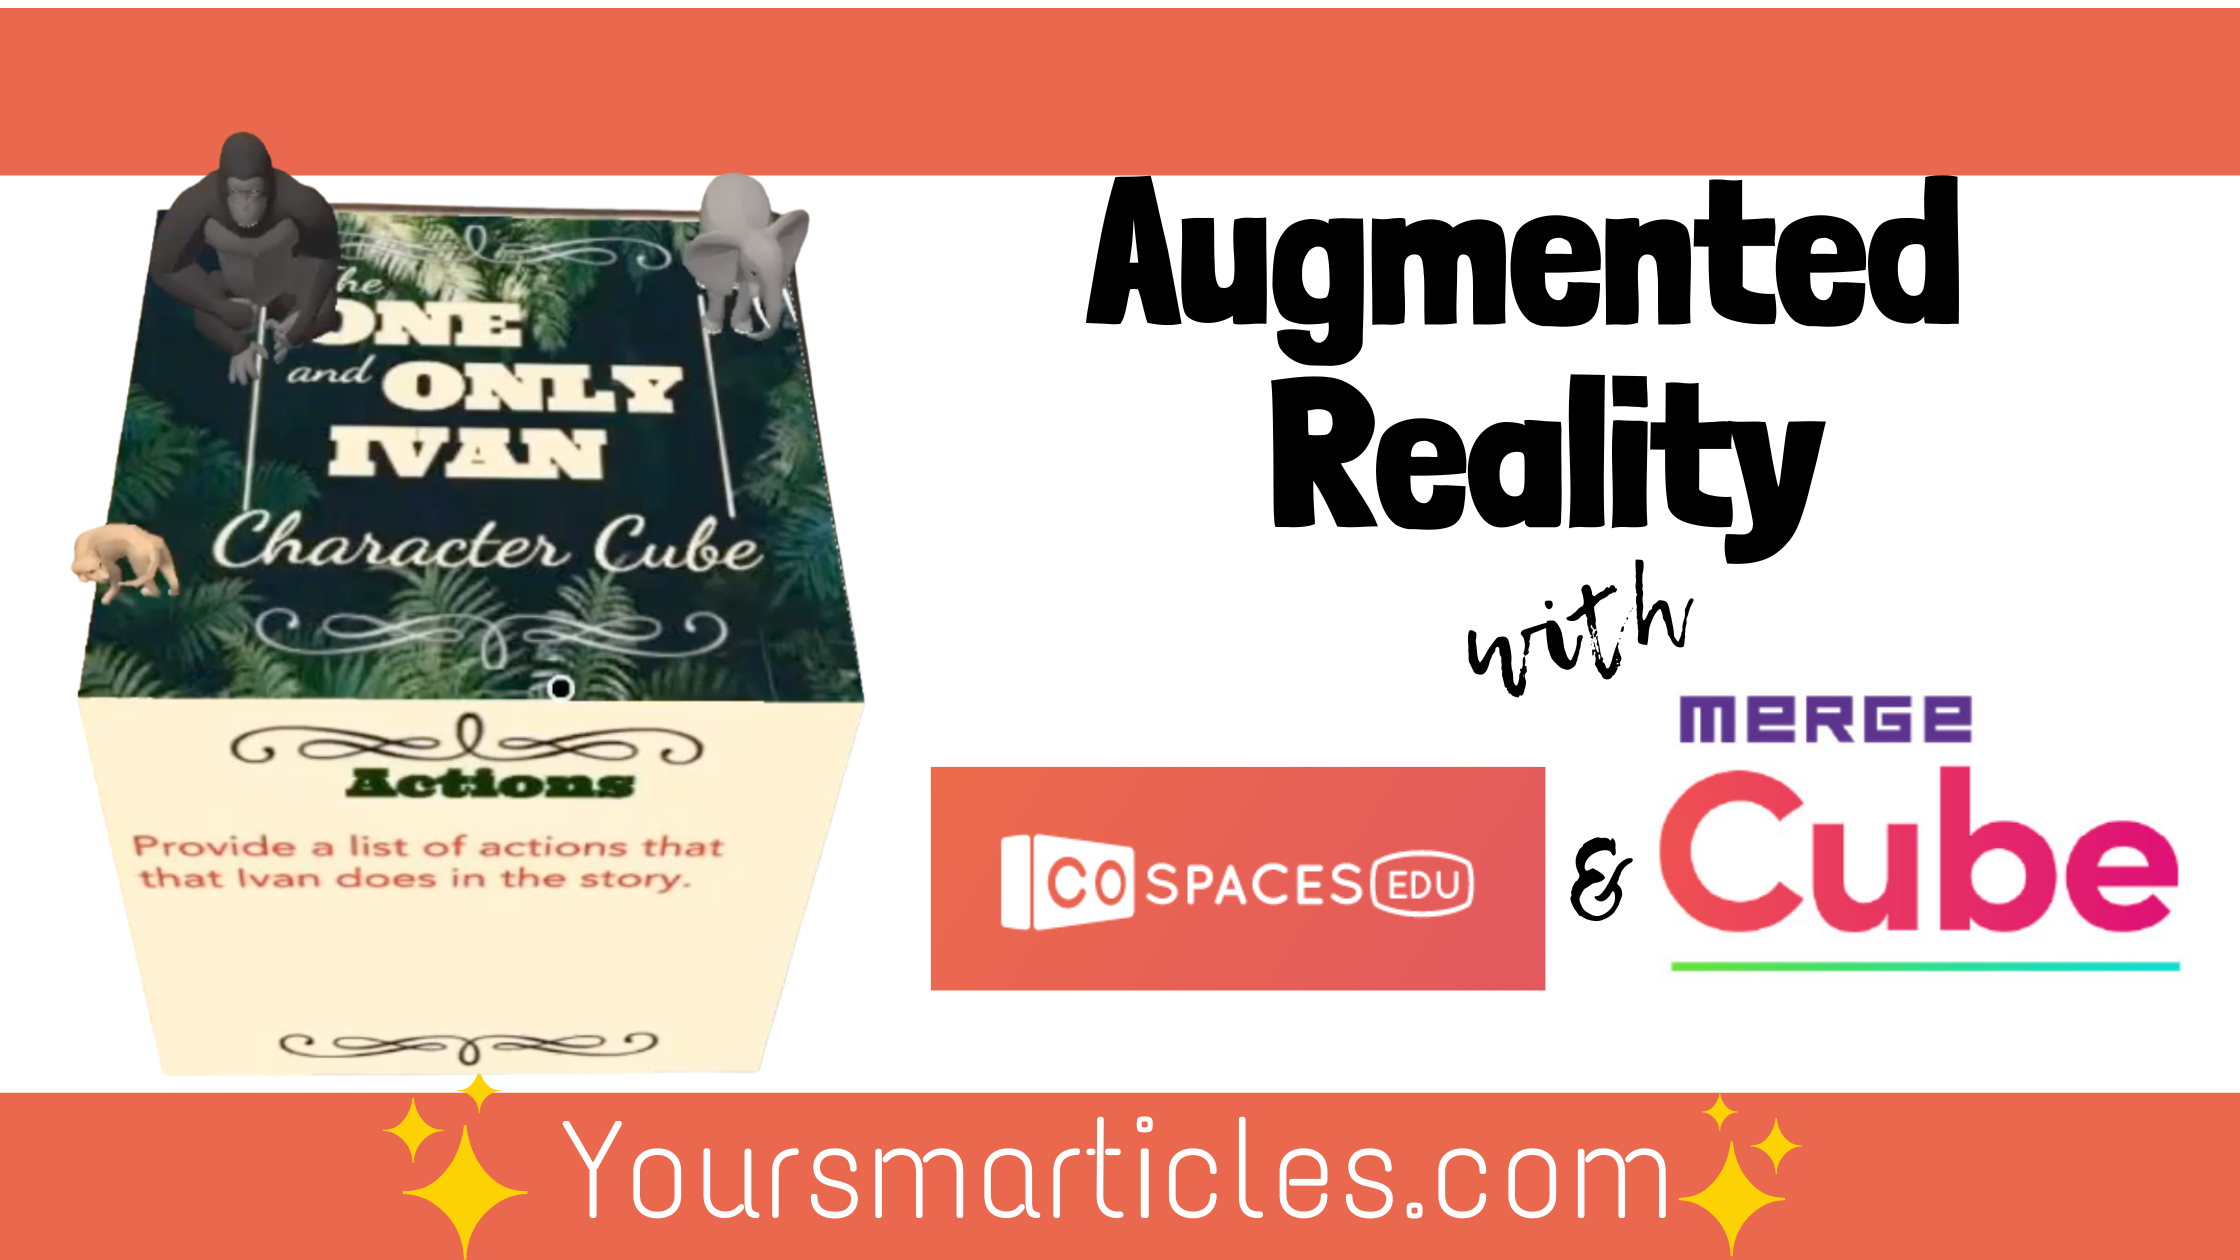
Are you an educator looking to venture into the world of Virtual and Augmented Reality? If so, CoSpacesEDU might just be what you’re looking for!! […]